What you'll make, and how long it takes
A Museum of Us is a shadow box laid out like a tiny gallery: your photos in mini frames on the back wall, small figurines standing in front of them as visitors, and a label under each picture. You'll also see it called a Gallery of Us or a Mini Museum of Us: the method is the same. Plan an evening for the handmade version, plus the wait if you order supplies online.
The digital version takes about 15 minutes and needs no supplies at all. The box is for you if you love crafting and want an object for a shelf. The digital one suits you better if the date is close, you live far apart, or you'd rather spend your time on the stories than on the glue.
Museum of Us supplies: what you need
You'll find almost everything for a Museum of Us DIY in a craft store. Buy the box and the mini frames first, because everything else depends on their size.
- A shadow box or deep frame, deep enough for figurines to stand in front of the photos.
- Mini frames, ideally in a mix of sizes and gold or wood finishes, like a real gallery wall.
- Small figurines to play the visitors, often two to stand for the couple.
- Your photos, printed and cut to fit the opening of each mini frame. Measure the opening, not the outside of the frame: there's no standard size.
- Labels or tiny plaques, printed or handwritten, one per frame.
- Glue dots or double-sided tape, plus a craft knife and a ruler.
- Optional: a small battery-powered LED strip to light the gallery.
How to make a Museum of Us, step by step
Lay everything out on the table before you glue a single thing. Then work through it in this order.
- Step 1, choose the memories: pick more than you need, then keep only the strongest.
- Step 2, put them in order: decide whether the museum tells your story from the beginning or groups memories by theme.
- Step 3, print and trim: print a test page first, then cut each photo to its frame's opening.
- Step 4, place the frames: arrange them in the box without glue, take a photo of the layout with your phone, then fix them one by one.
- Step 5, add the visitors: stand the figurines in front of the frames, as if they were admiring the art.
- Step 6, write and fix the plaques: one under each frame, with a title, a date and a line of story.
- Step 7, light it: run the LED strip along the top inside edge, hidden from the front.
- Step 8, wrap it: cover the front with tissue paper, then pad it inside a gift box so it can't slide around on the way.
Museum of Us ideas: which memories to choose
Ten beautiful photos can still make a flat museum if they all show the same kind of moment. A simple method: pick at least one memory from each of these five families, then fill the remaining frames with your favorites.
- Firsts, such as your first photo together or your first night in your first home. They anchor the story in time.
- Places, such as where you met or the café you keep going back to. They take the other person straight back there.
- Jokes, such as the inside joke or the disaster you now laugh about. They bring a smile between the big moments.
- Hard times, such as a move, an illness or a long stretch apart that you got through together. One is enough, and it gives the museum depth.
- Everyday life, such as Sunday breakfast, the dog walk or your corner of the sofa. These are often the ones that touch people most.
Museum of Us template: what to write on the plaques
Real museum labels follow a format, and yours can too. Write a title, then a date, then one or two lines of story. Keep the title short enough to read at a glance, write the date the way you'd say it out loud, and use the story for what the photo can't show.
Here are five examples you can adapt, in that order: title, date, story.
- Where it started · June 14, 2019 · A friend's barbecue, one borrowed jacket, and a conversation that lasted until the last bus.
- Lost on purpose · August 2021 · We left the map in the car and found the best pizza of our lives two streets later.
- The great tent collapse · Easter weekend, 2022 · Three hours to put it up, three seconds for the wind to take it down. Best camping trip ever.
- Keys to our first place · October 2023 · One room, a wobbly table, and you saying we'd make it ours. We did.
- Every Sunday · Since forever · Pancakes, far too much syrup, and the crossword we never finish.
Common Museum of Us mistakes to avoid
Most of these only show once the glue has dried, so it's worth knowing them before you start.
- Too many photos: a crowded wall reads as a collage. Leave space between the frames.
- Tiny text: if the plaques can't be read without squinting, nobody reads them. Print a test and check it at arm's length.
- No story order: decide on a direction, chronological or by theme, before anything is fixed.
- Forgetting the date: months later, the date is what makes a memory precise. Even “summer 2020” is better than nothing.
No time, no printer, or far apart? The digital version
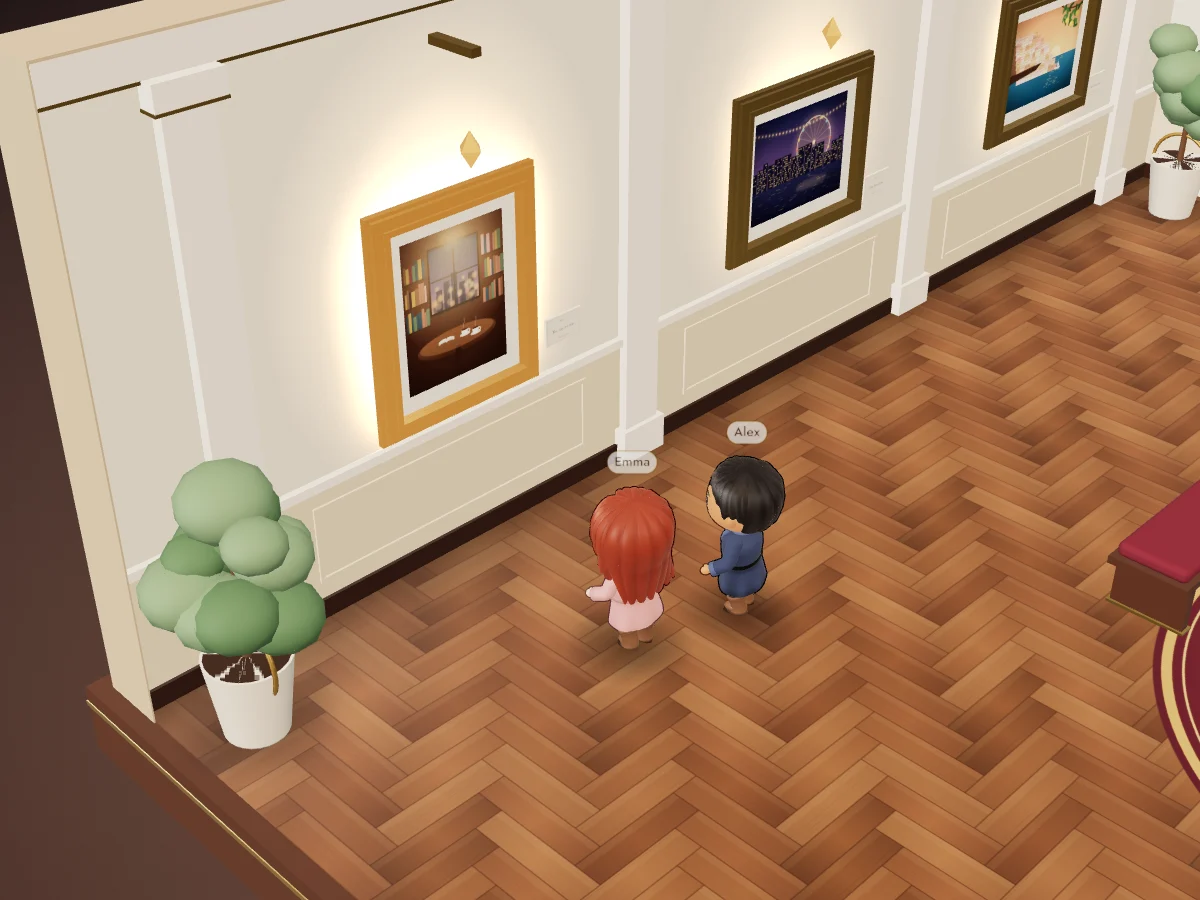
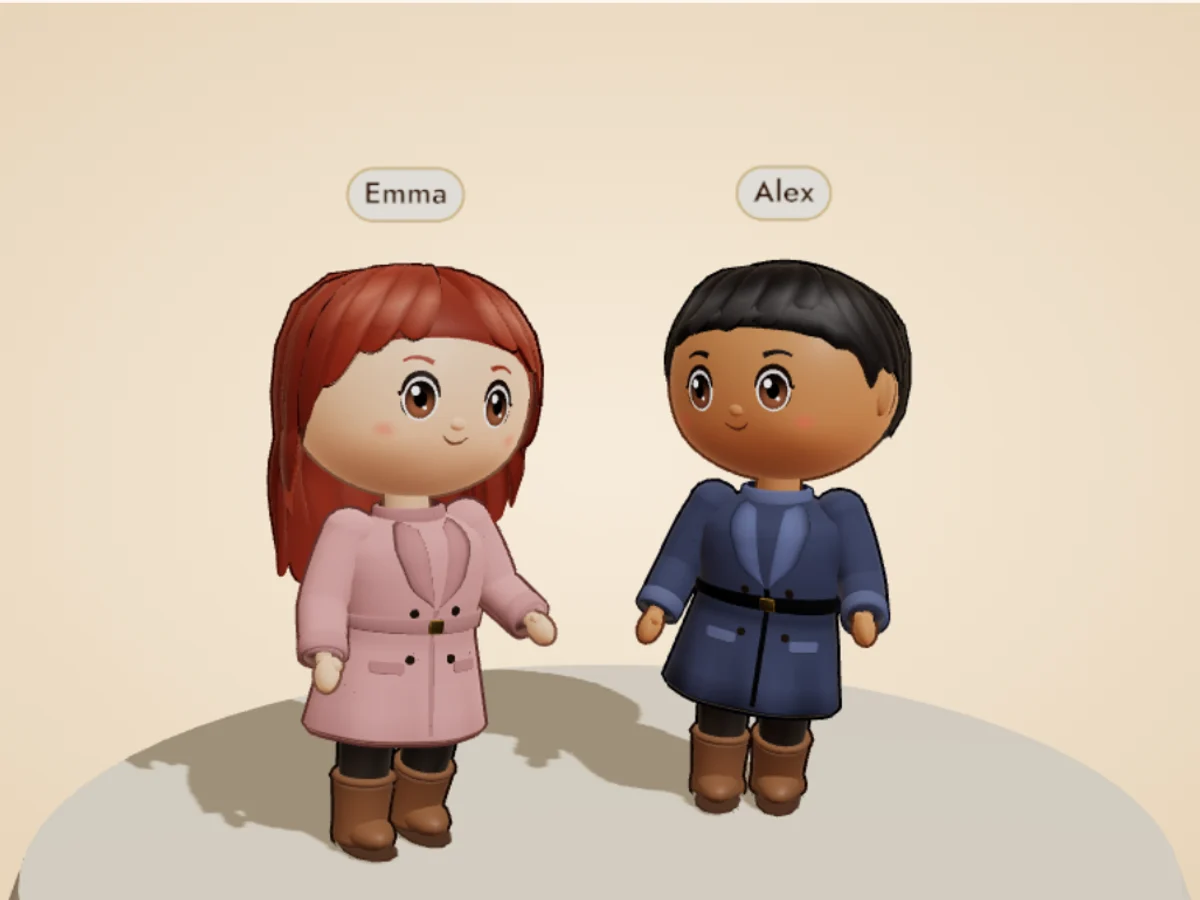
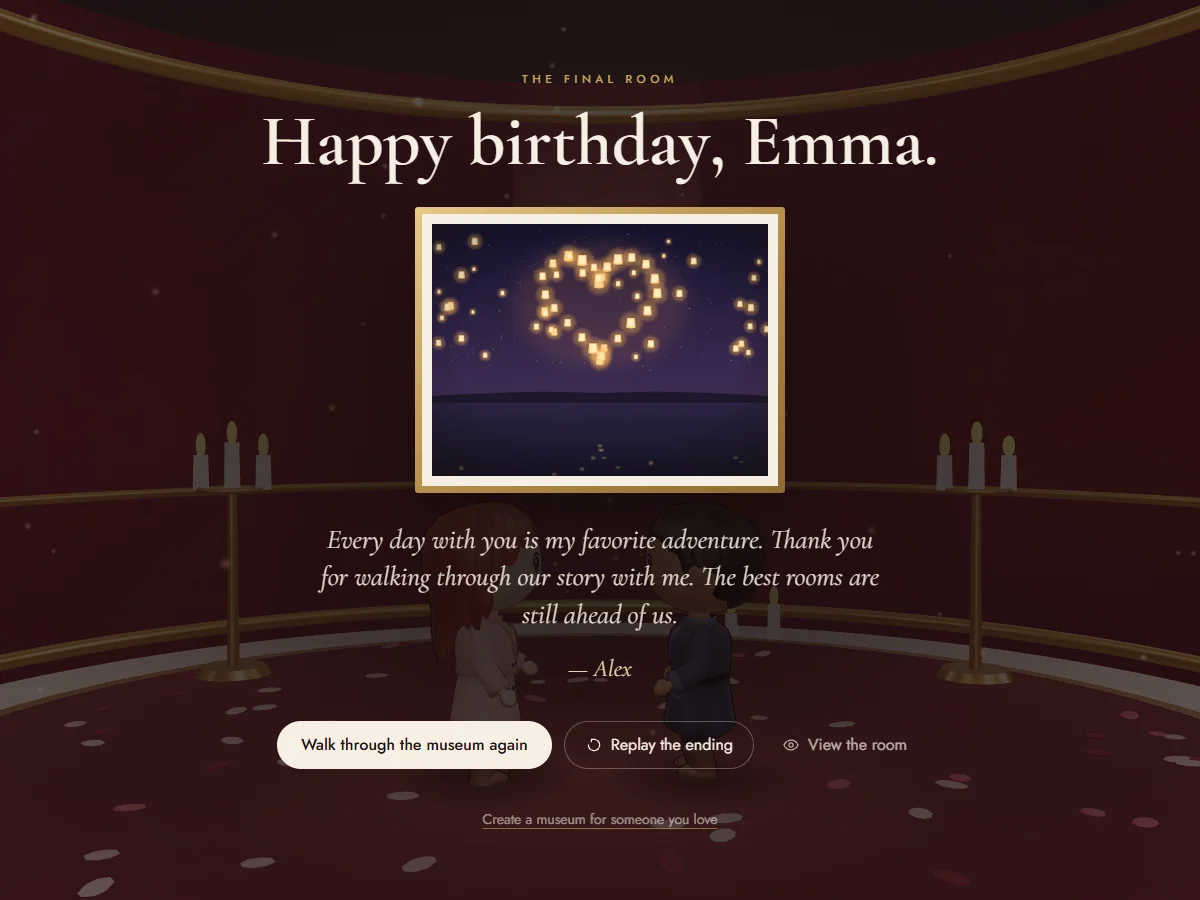
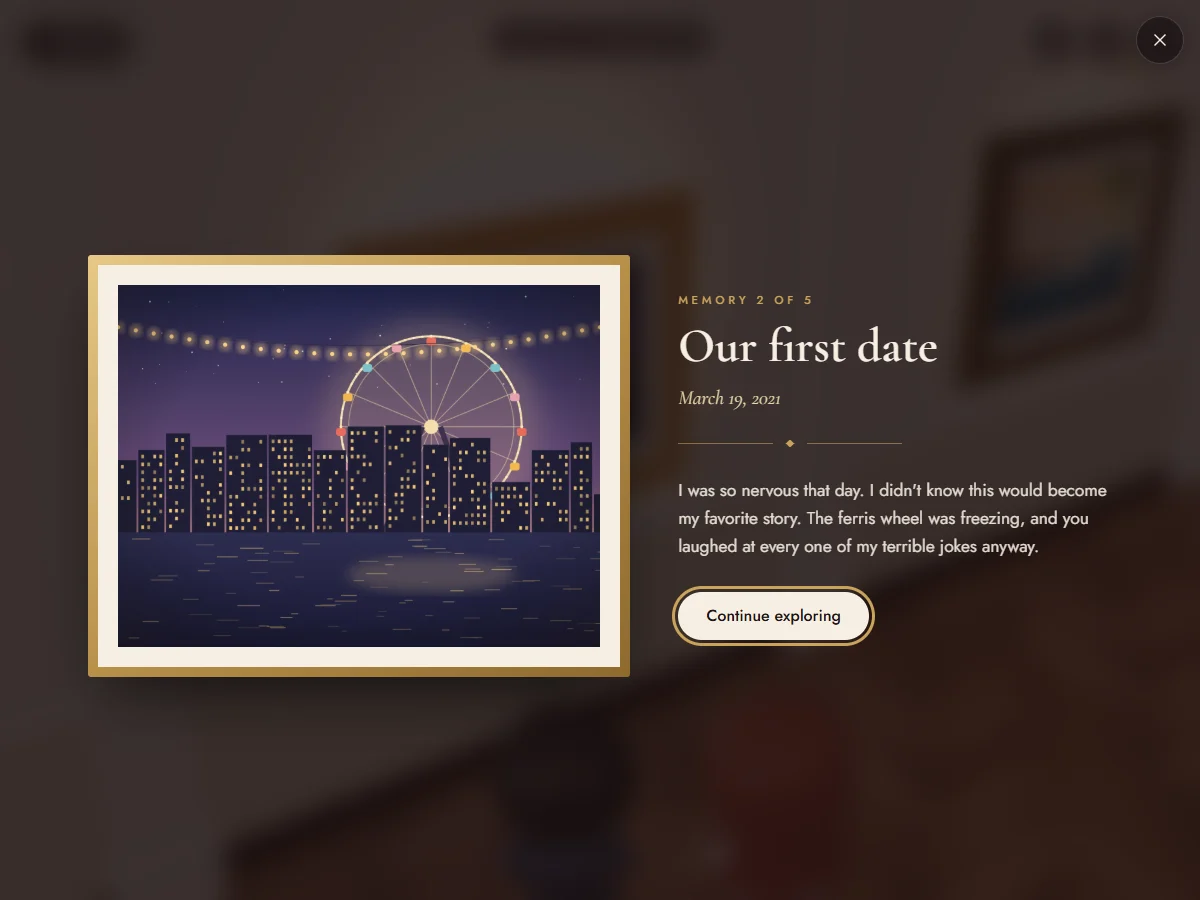
Memuseo uses the same plaque format, title, date and story, in a small 3D museum that opens on a phone. Your photos hang as framed works under warm light, two characters dressed like the two of you walk from frame to frame, and each memory opens in a large card that's easy to read. Once every memory has been found, doors open onto a final room with your message.
You add five photos with Essential (€9.99) or up to ten with Deluxe (€14.99), dress the characters, write the final message and send a private link. It takes about 15 minutes, with nothing to print, glue or ship.
Building it costs nothing, and you can walk through a free preview with the first two memories in full. The other memories and the final surprise unlock when you pay, and so does the link to send.